
In today's data-rich digital environment, it is more important than ever to know how your users, or in this case, your donors, interact with your online experiences. Insights gathered from behavior studies can translate into increased conversion rates, thereby increasing revenue.
With the release of iDonate 2.0, we have improved your ability to do so by adding Giving Form Analytics, otherwise known as Giving Form Events.
Using Google Tag Manager, you can now read events occurring on the Giving Form, e.g. scrolling, time between actions, button clicks, and then write them to a service of your choosing, most notably Google Analytics.
Configuring Your Google Tag Manager Environment
Put on a pot of coffee, because this one takes a bit of doing. However, you only have to do it once.
Step One: Account Creation
If you have a Google Tag Manager account already, skip this step.
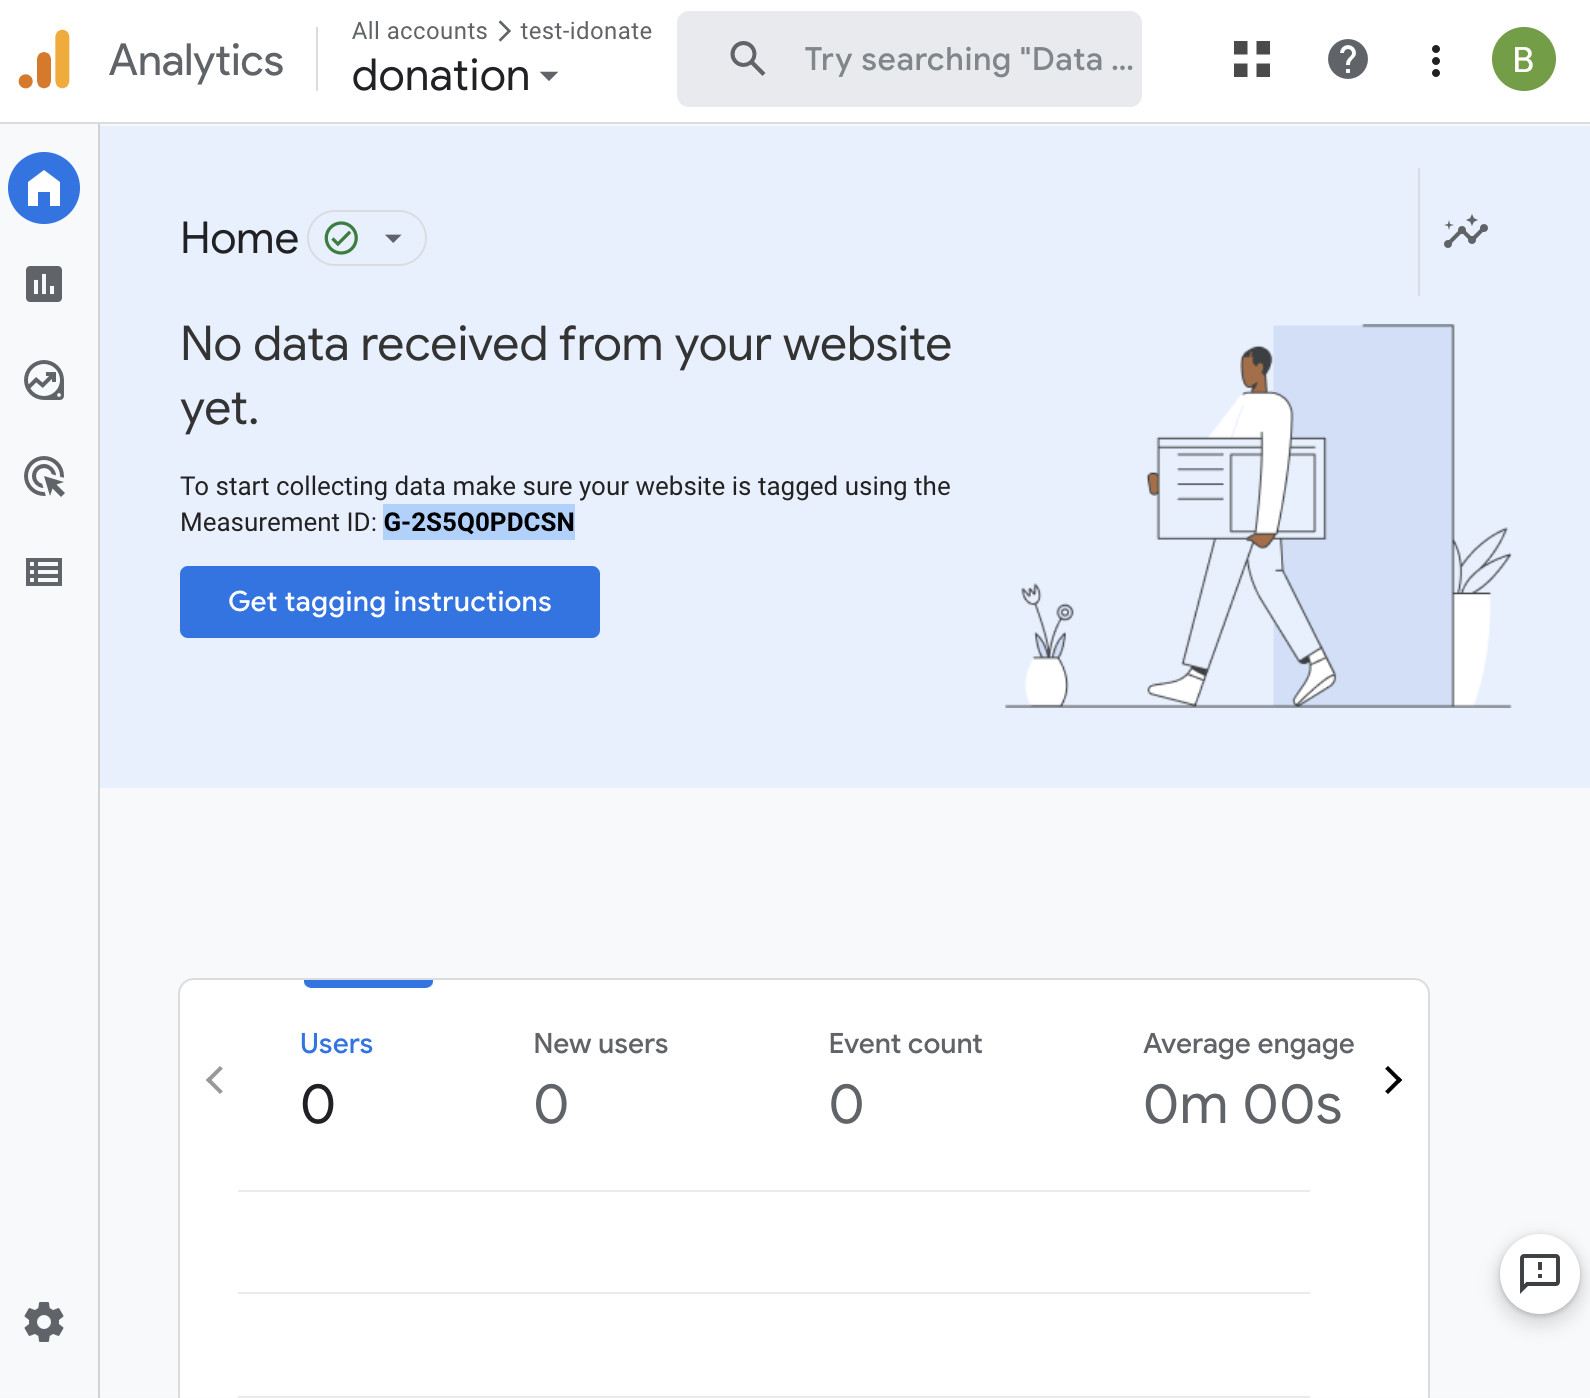
To begin, navigate to Google Tag Manager, and if you have not already done so, create an account. Wouldn't be the worst idea to also create a Google Analytics account at this point.
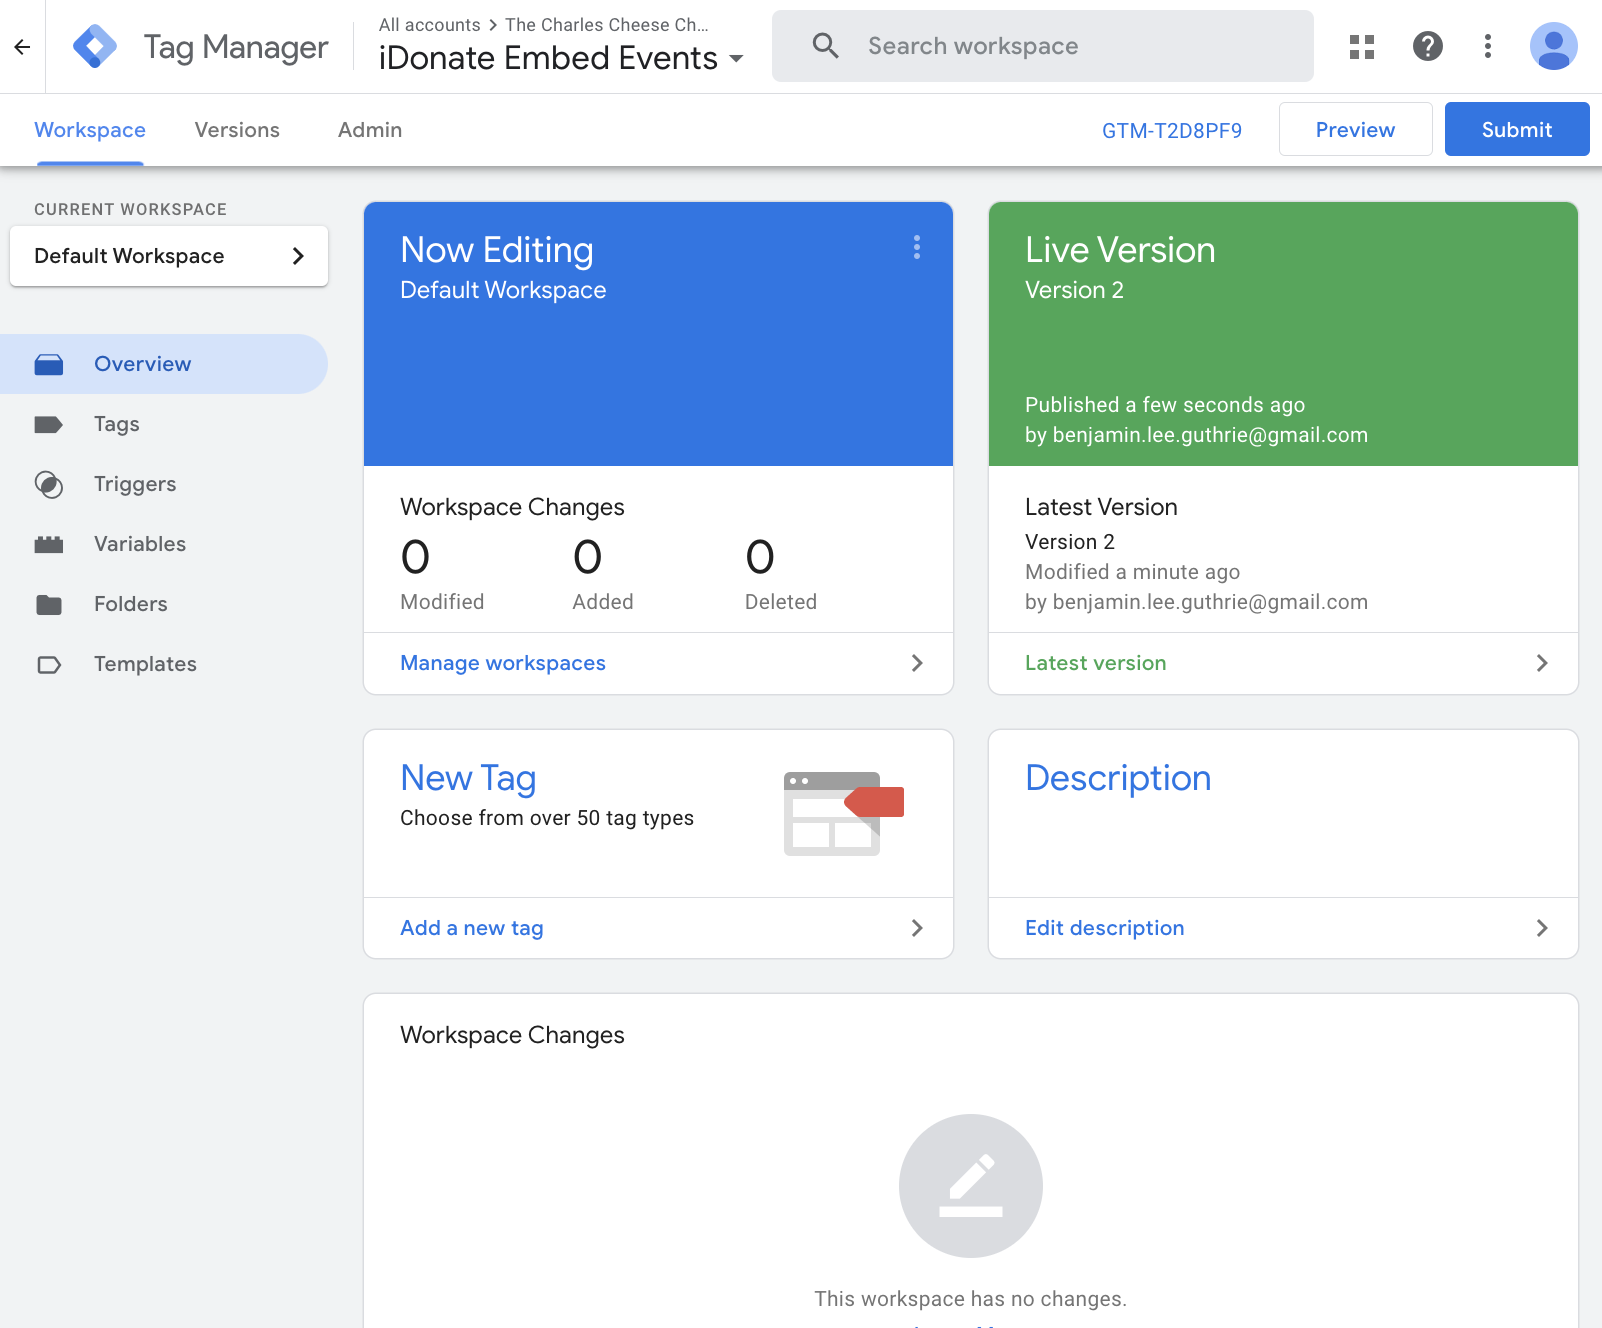
Once you have created your account(s), you should arrive at the dashboard displayed below.
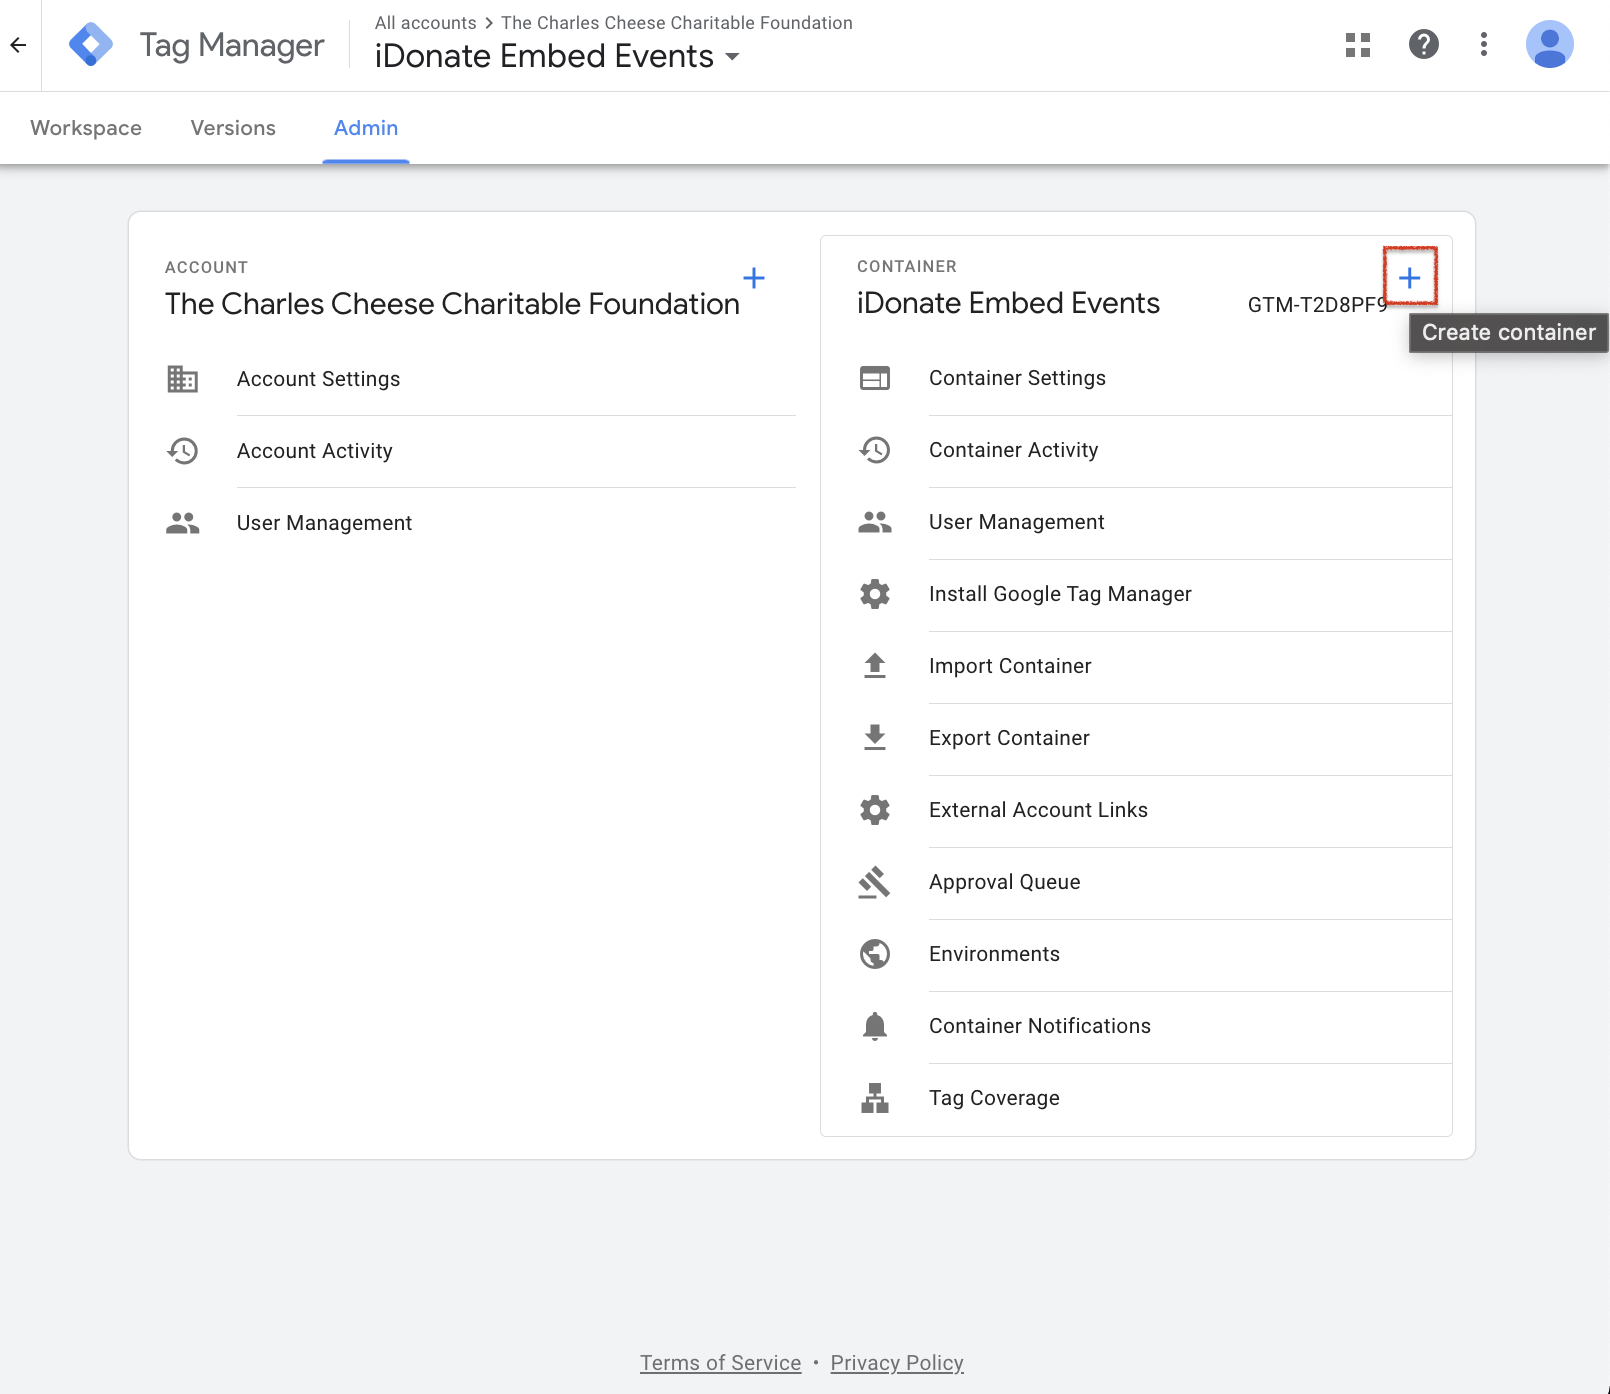
Step Two: Create a Container
If you have a Google Tag Manager account already, skip this step.- In Google Tag Manager, Select the Admin tab.
- Select the '+' icon in the top right of the Container section.
- Name the Container.
- Set target to Web.
- Select Create.
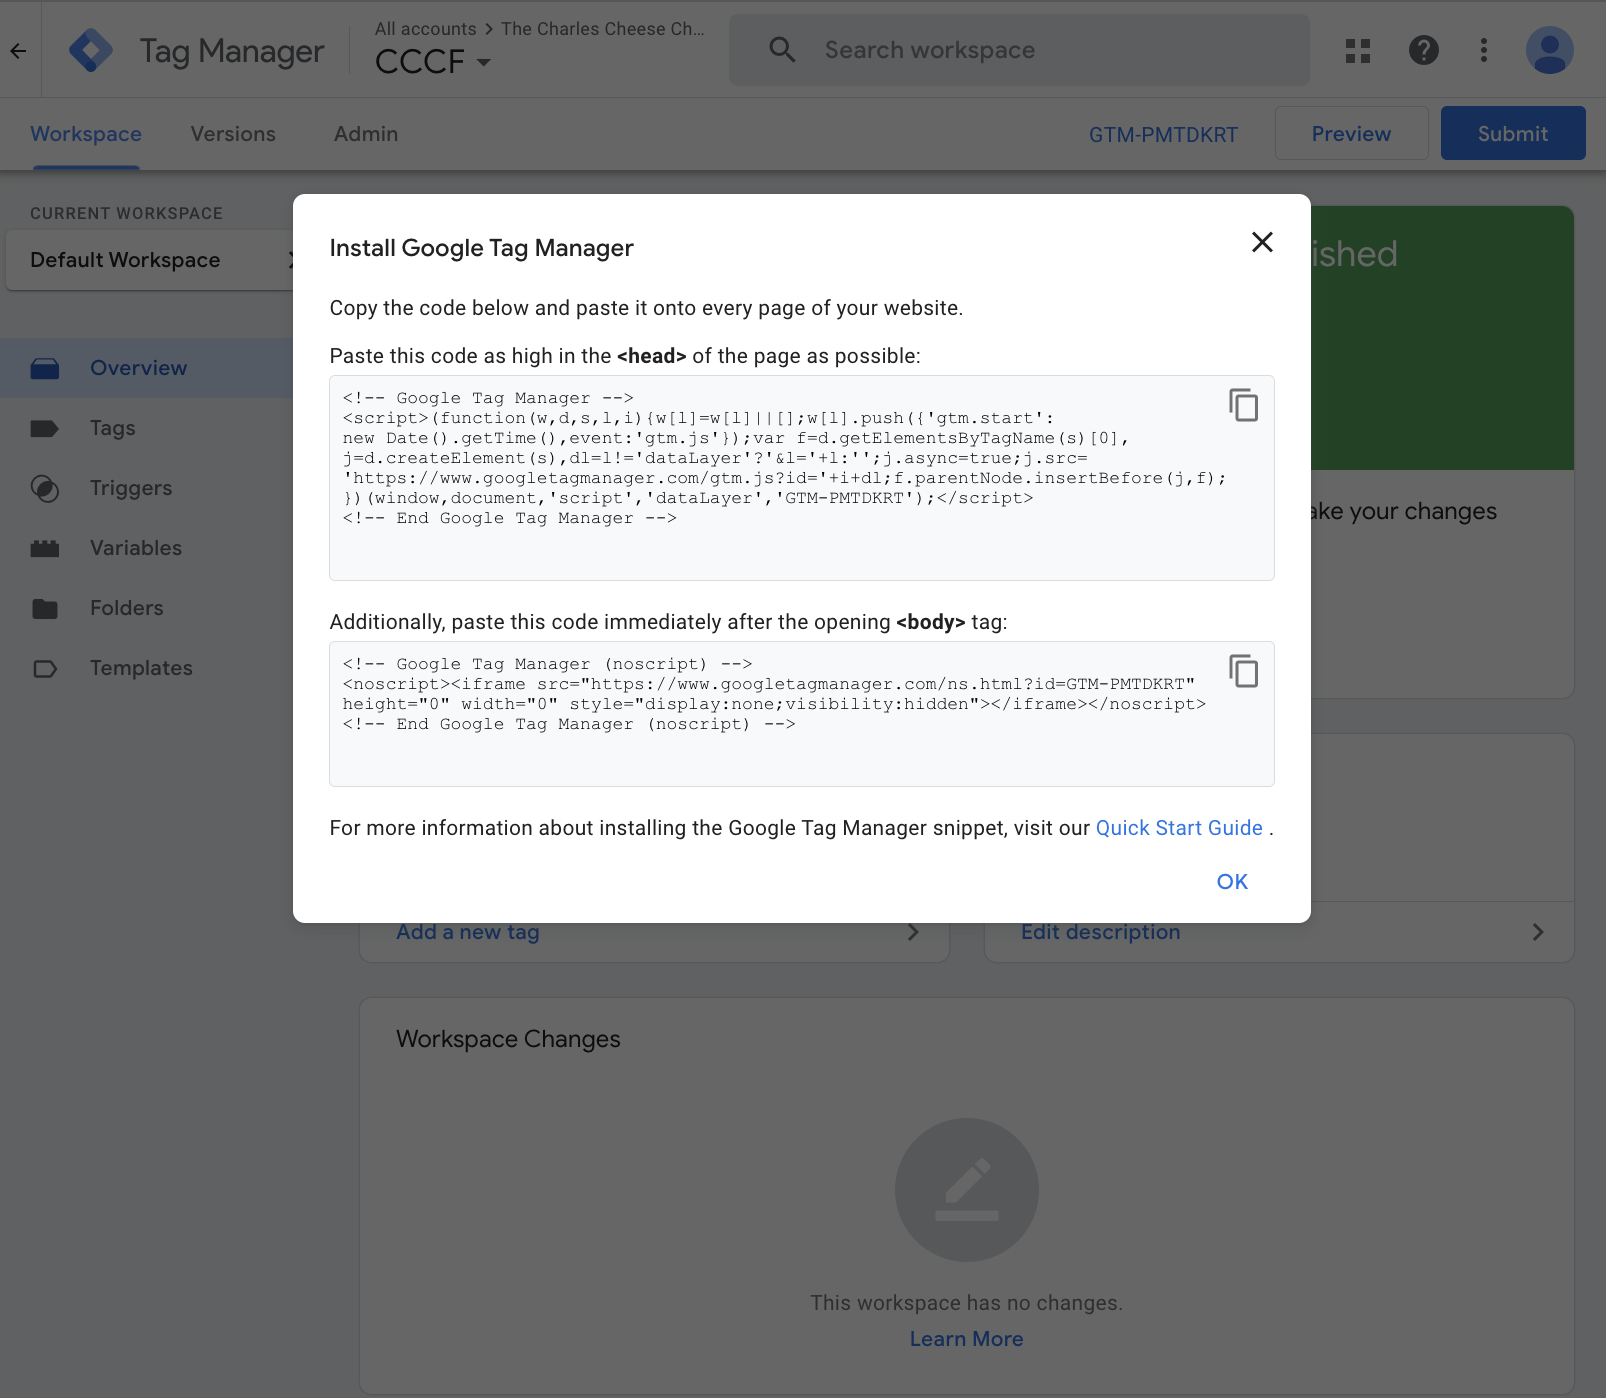
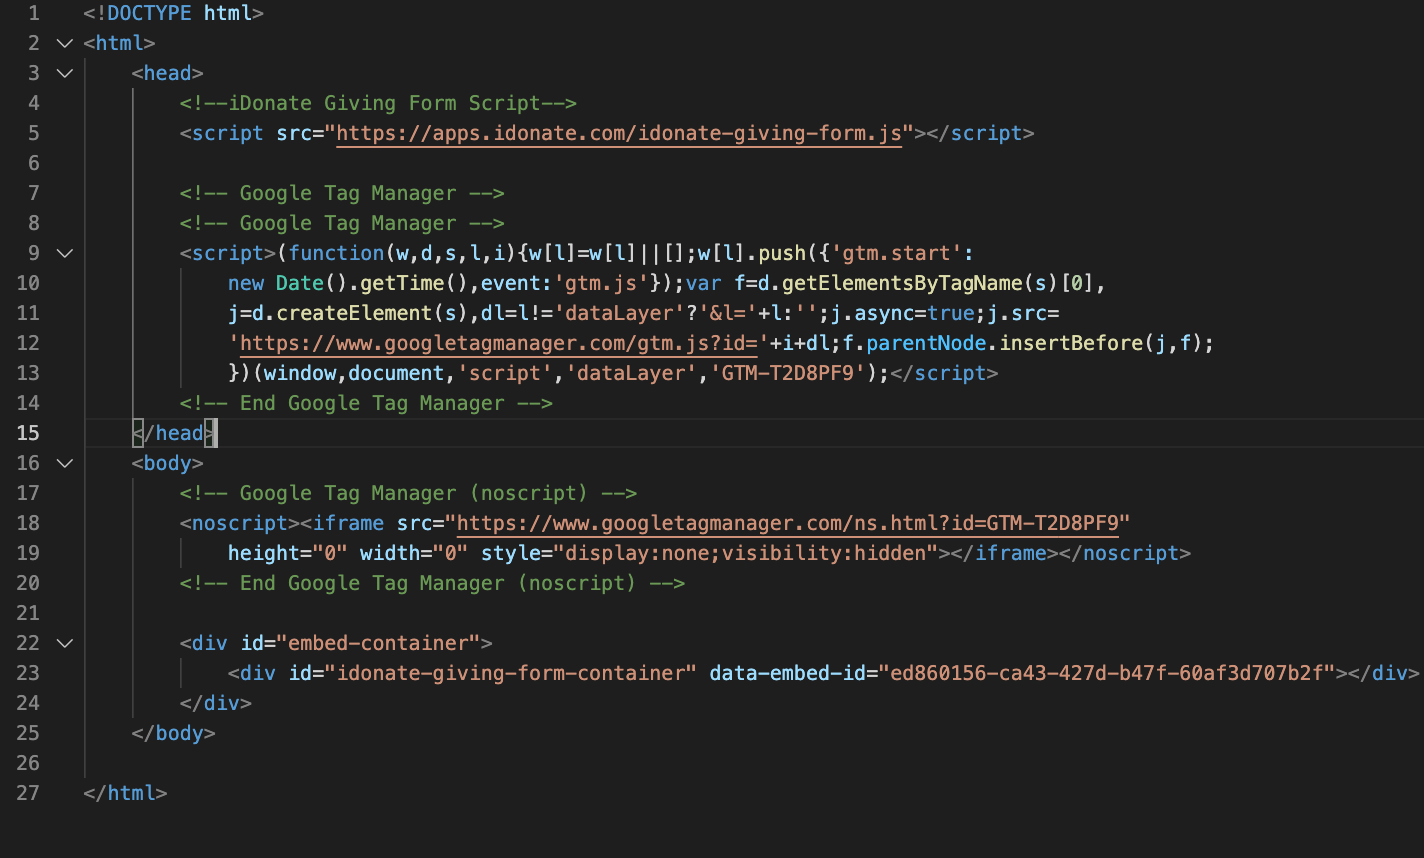
Step Three: Add Code Snippets to Your Page
This step can also occur after Step Five: Importing the Container.
When you create your Container, you will be presented with your Code Snippets.
Add the first one at the top of your <head> section, and the second just after the opening <body> tag.
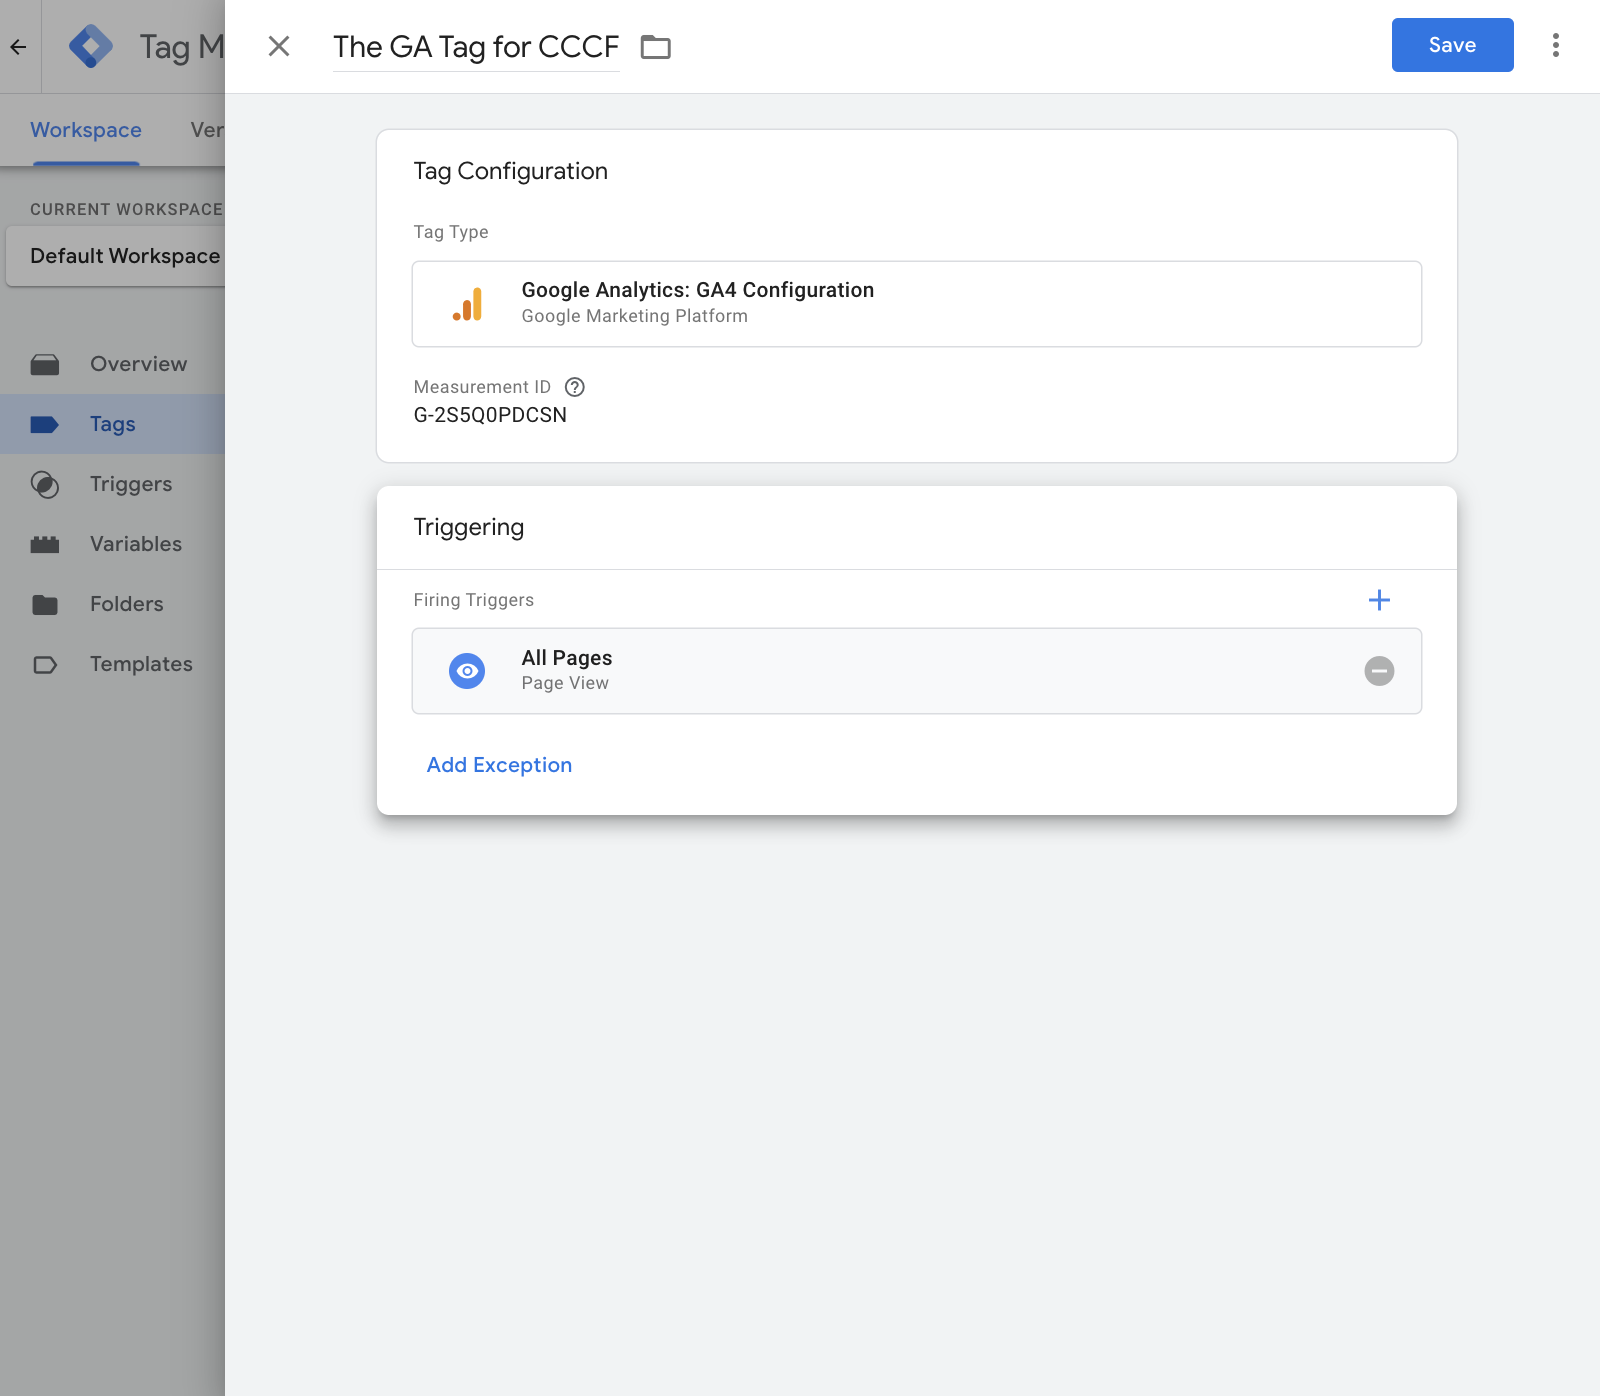
Step Four: Create an Integration Tag
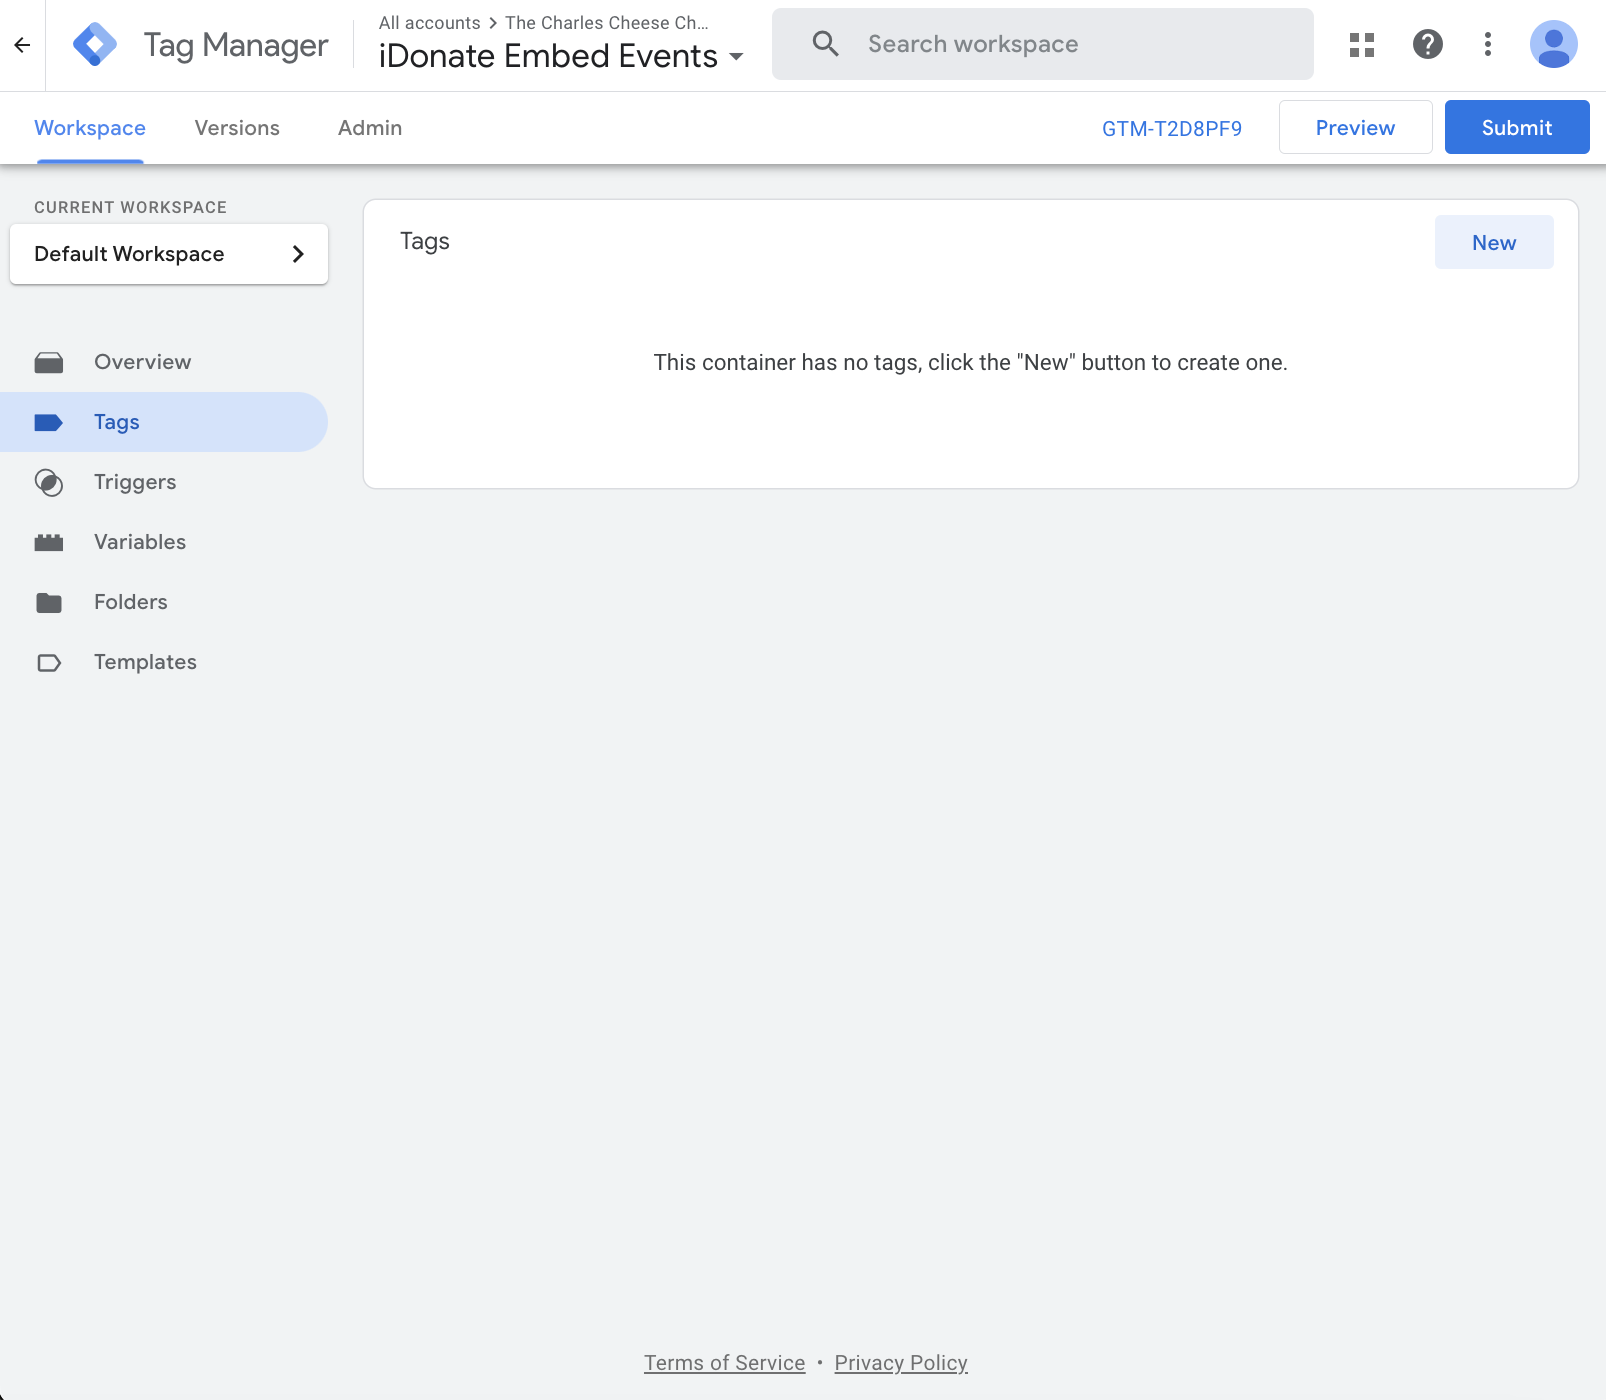
- Navigate to the Workspace tab.
- Select Tags from the left menu.
- Select New in the Tags section.
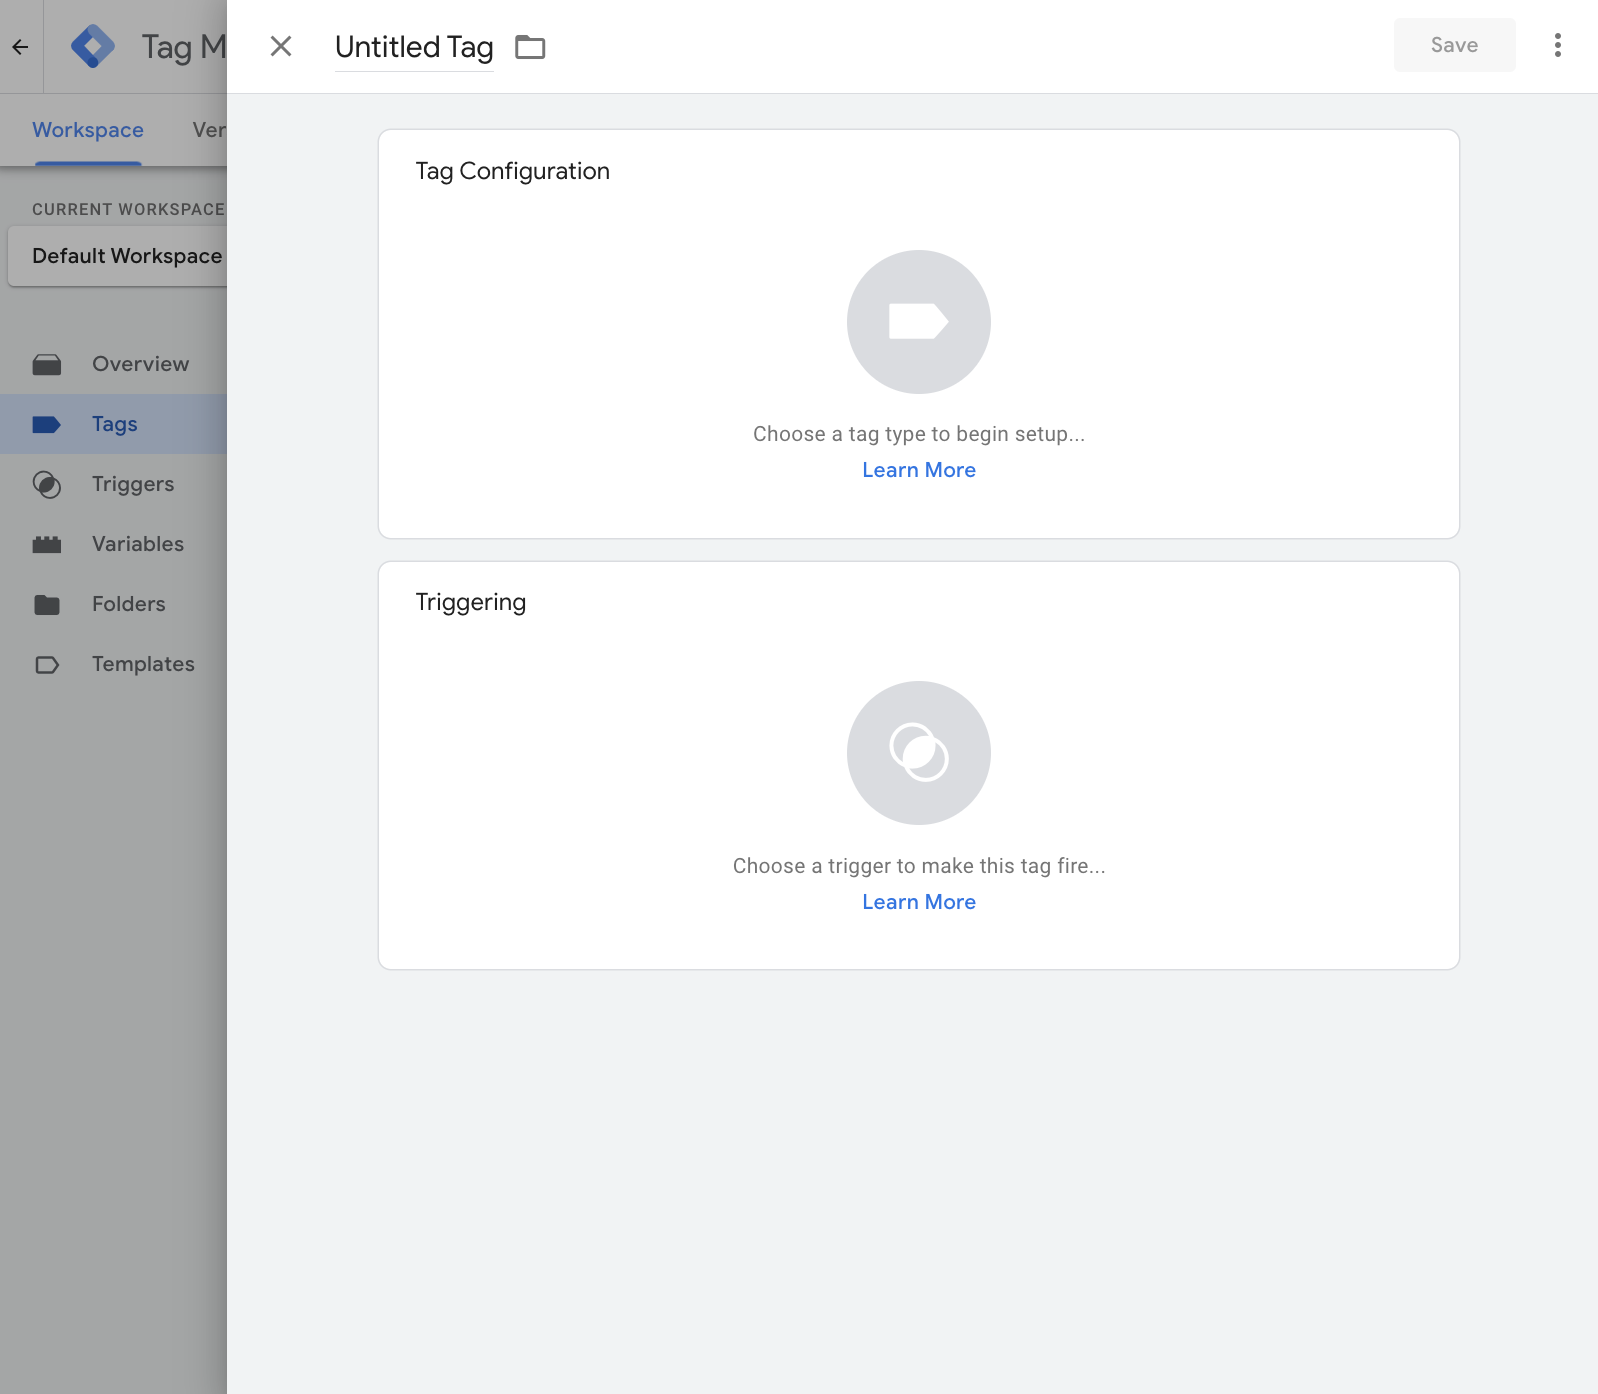
- Select the Pencil Icon in the Tag Configuration section.
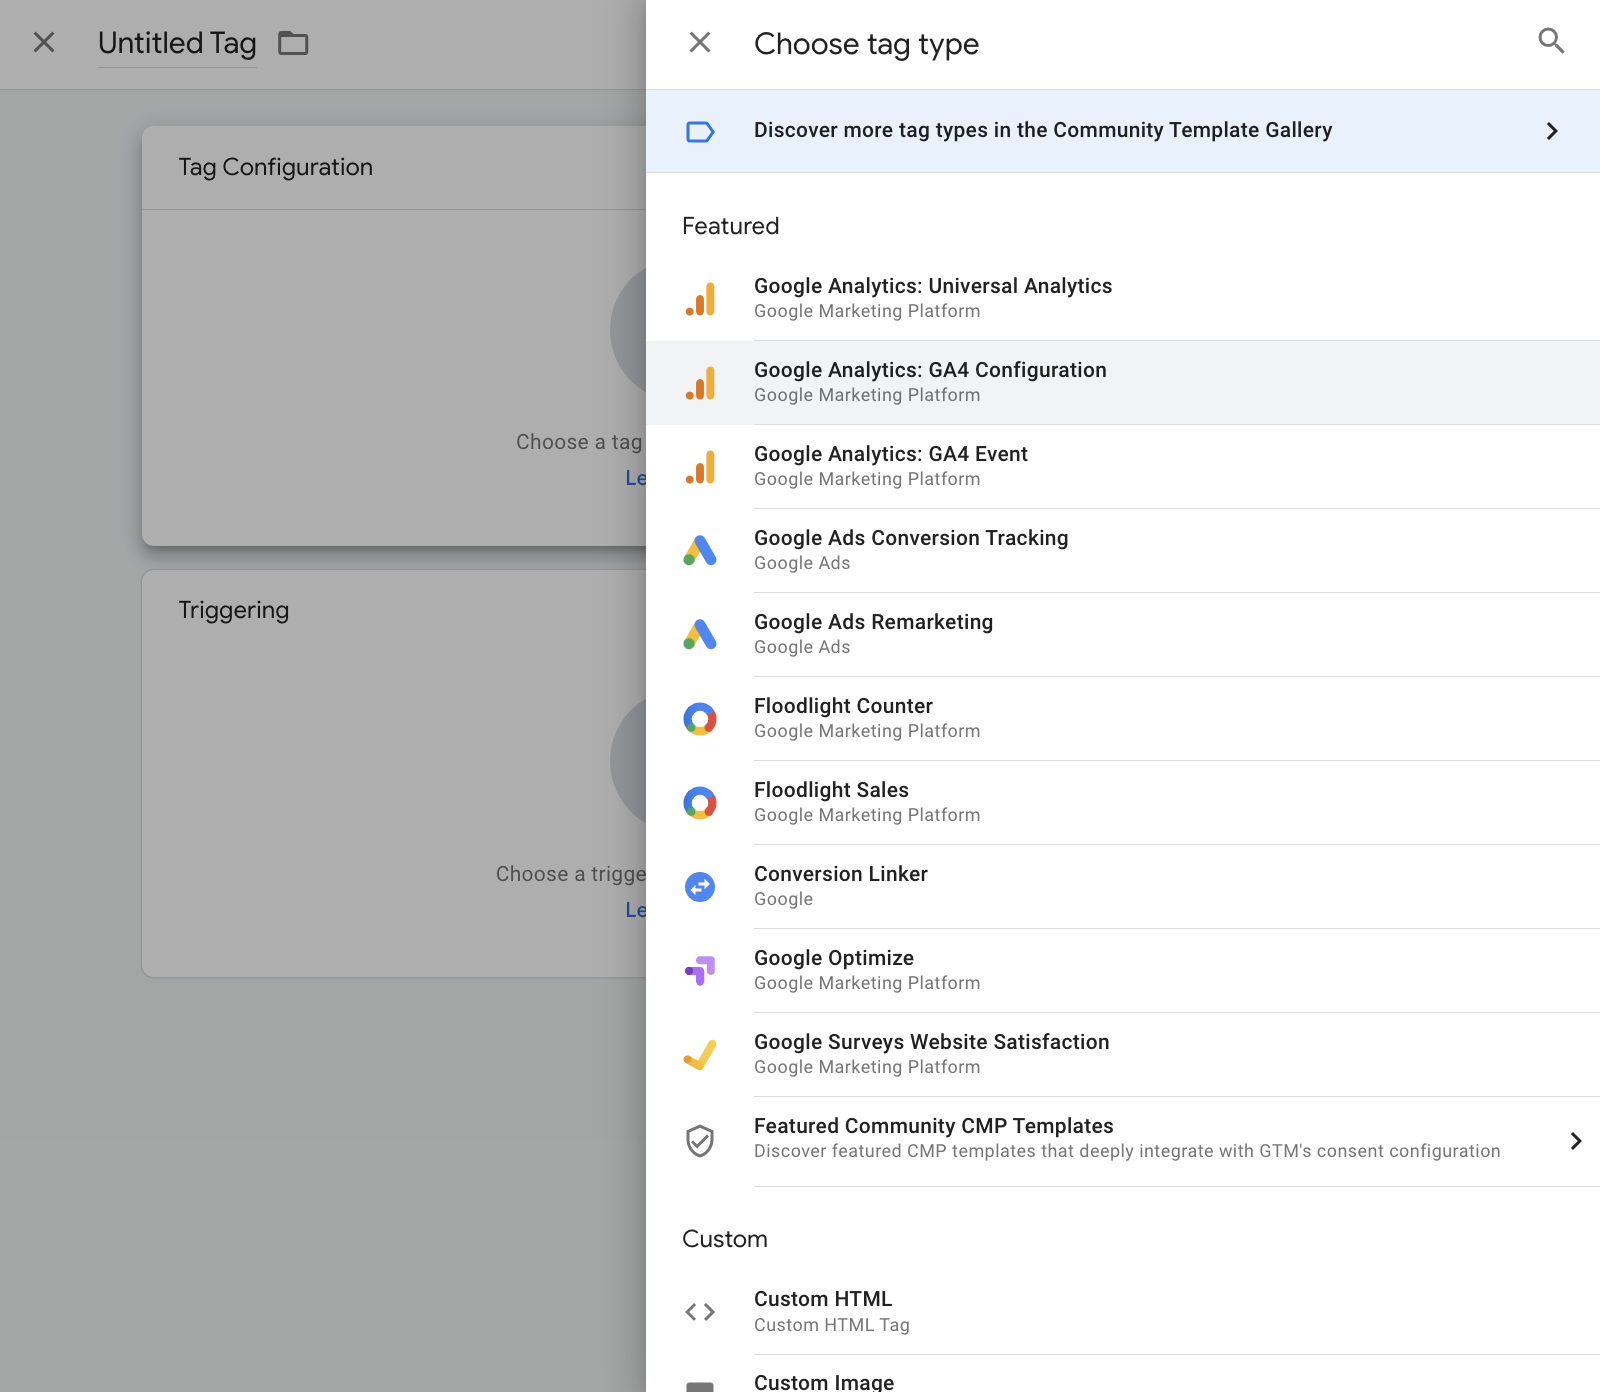
- Select Google Analytics GA4 Configuration.
- Enter Google Analytics Measurement ID. This is found on your Google Analytics account page.
- Activate the checkbox for Send a page view event when configuration loads.
- Select the Pencil icon in the Triggers section.
- Select All Pages.
- Name the tag.
- Select Save.
(Shown above: The location of the Measurement ID)
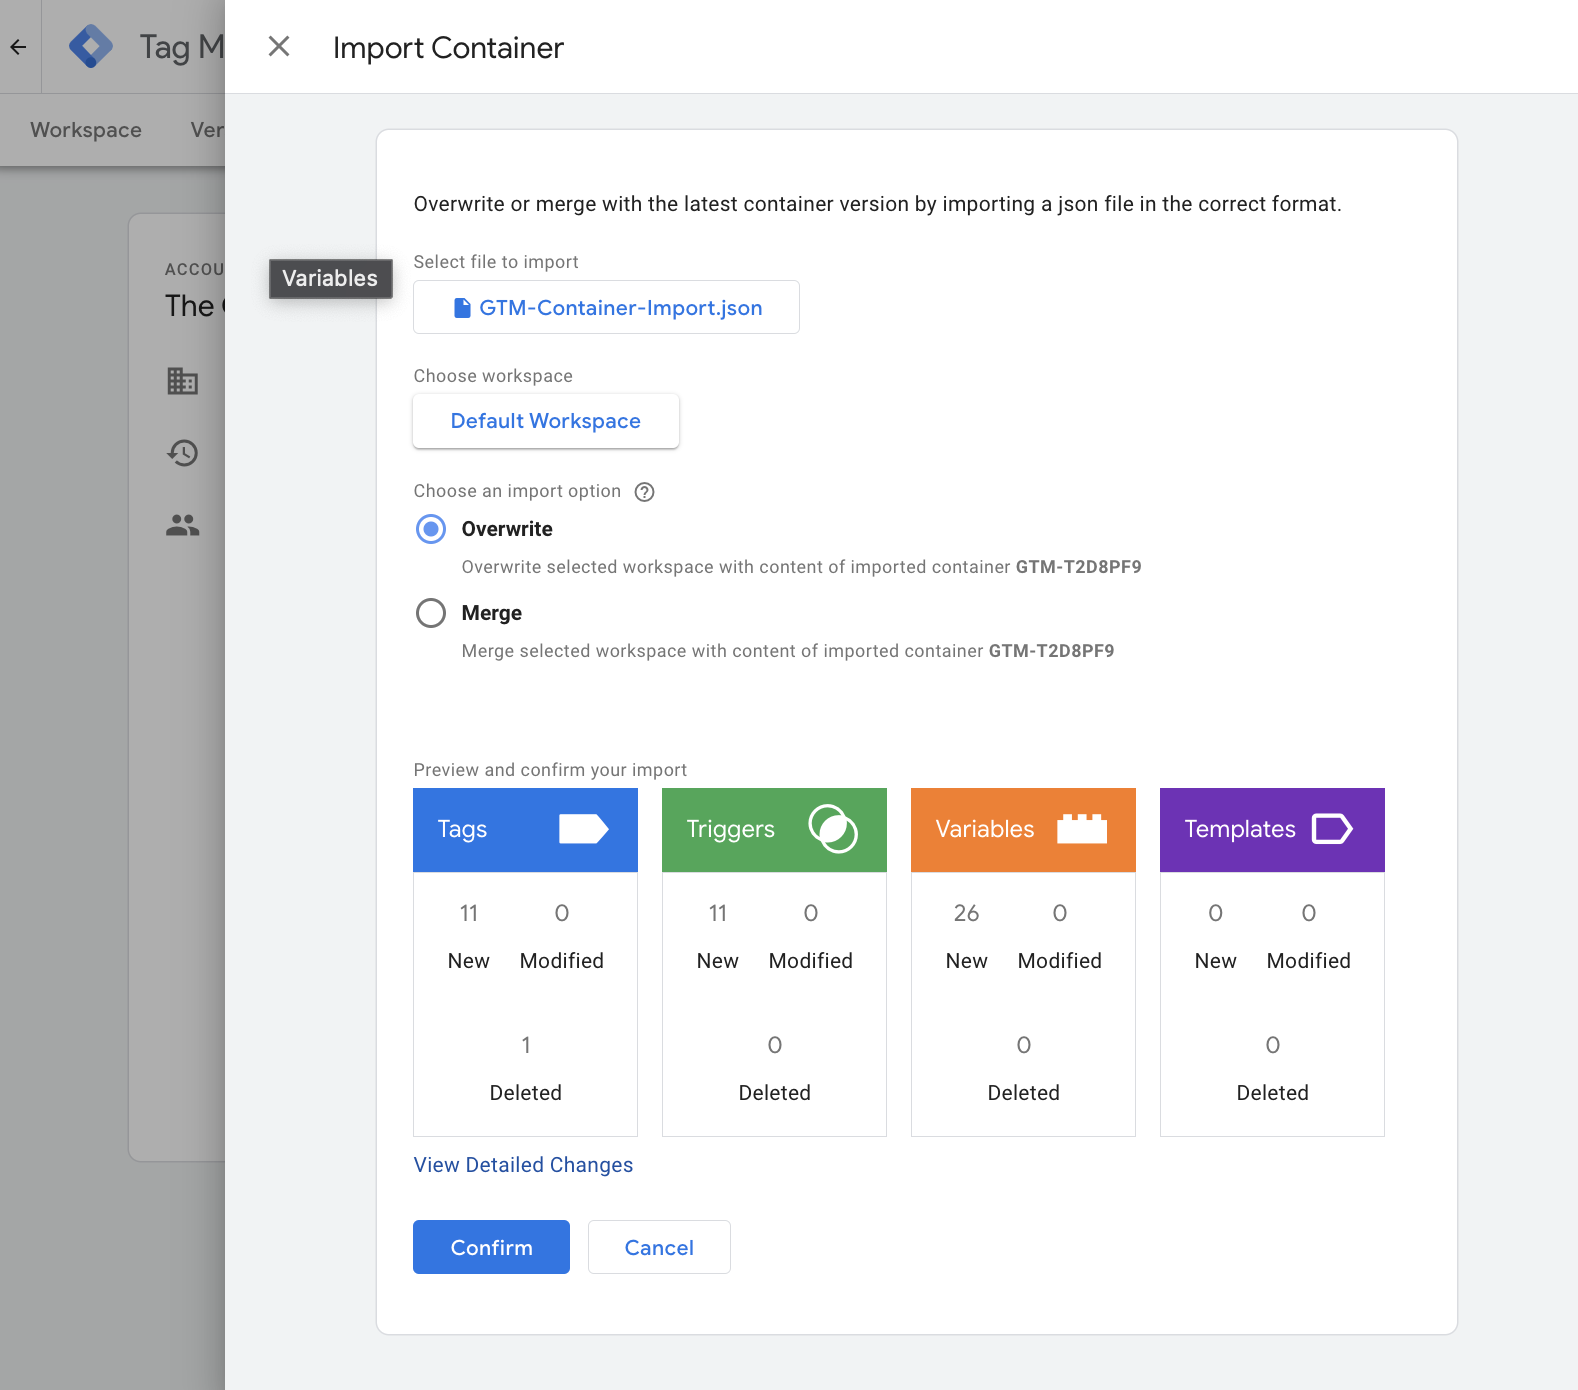
Step Five: Import the Container
- Navigate to the Admin tab, then select Import Container under the Container section.
- Save the following JSON file to your computer.
- Select Choose Container File, then select Import File From File System. Use the file linked above.
- Choose Existing workspace.
- Select Default Workspace.
- Select Overwrite.
- Click Confirm.
If updating to a newer version of the JSON file listed here, repeat the steps above and then the steps in Step 6 to complete the update.
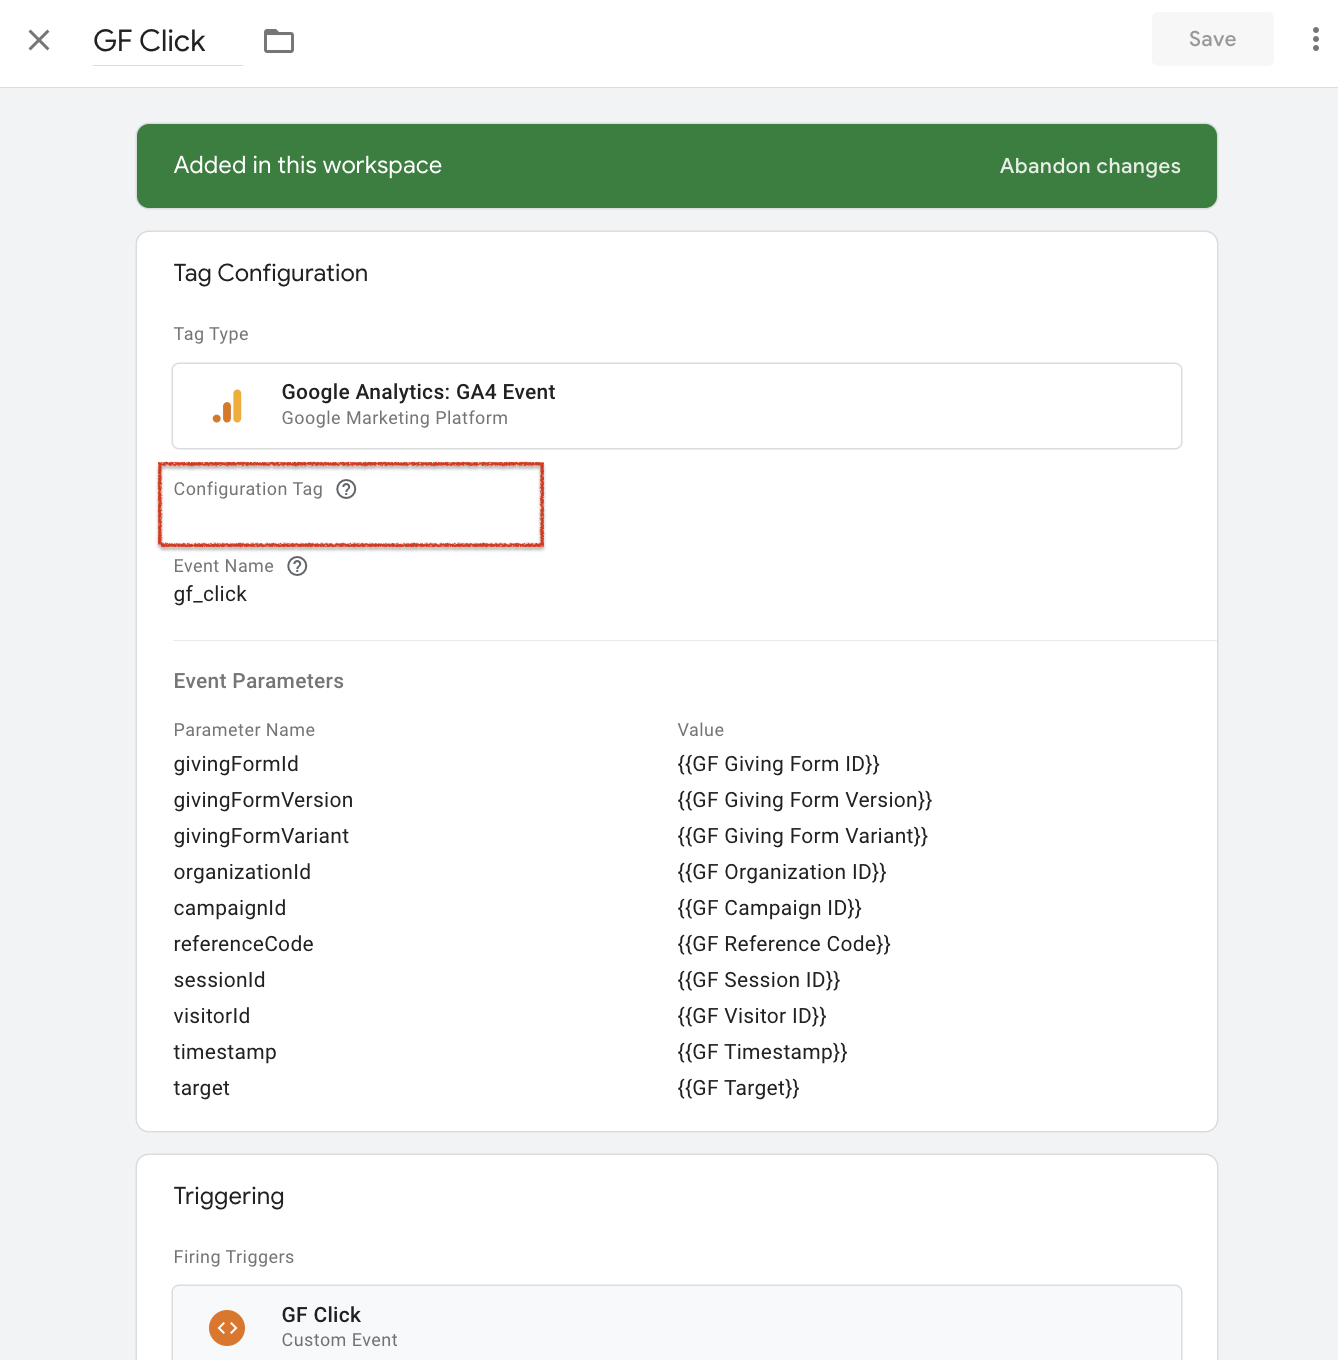
Step Six: Ensure All Tags Have the Integration Tag (Measurement ID)
This is a common issue during configuration. The fix is a bit labor-intensive, but again, you only have to do all this once.
- Click on any tag with a prefix of GF.
- If it is missing an Integration Tag, enter the Measurement ID from your Google Analytics account.
- Repeat as needed for all tags with a prefix of GF.
Step Seven: Publish
- From the Google Tag Manager dashboard, select Submit.
- Select Publish.
- You're done! You will now see Giving Form events from configured pages begin to appear in Google Analytics.
What Custom Events can iDonate send to Google Analytics?
In addition to Google's Events, iDonate has the following Custom Events as part of the analytics stream:
- GF Click
- GF Entry
- GF User Idle
- GF Form Inactive
- GF Selection
- GF Form Active
- GF Focus
- GF Page Scroll
- GF Form Load
- GF Error
- GF Form Unload
- GF Donation Submit
Google Events are tracked according to how your organization chooses to configure your instance and which Events are in use.